ngrok vs. localhost.run (The Zero-Friction Standard)
Current comparison
Looking for the main ngrok alternative guide?
We keep the latest ngrok alternative comparison, CLI commands, pricing notes, and webhook examples on one canonical page.
Open the InstaTunnel ngrok alternative guideQuick answer
ngrok vs localhost.run: Zero-Friction Native SSH Tunneling : quick comparison answer
Choose the tunnel tool based on the network model: public HTTPS URLs for webhooks and demos, private mesh access for internal apps, and managed infrastructure when policy controls matter most.
Which tunnel tool is best for public webhook testing?
Use a public HTTPS localhost tunnel with stable URLs. InstaTunnel focuses on webhook testing, demos, OAuth callbacks, and MCP endpoint workflows.
When should I choose a private network tool instead?
Choose a private mesh or Zero Trust tool when every user and service should stay inside a controlled private network.
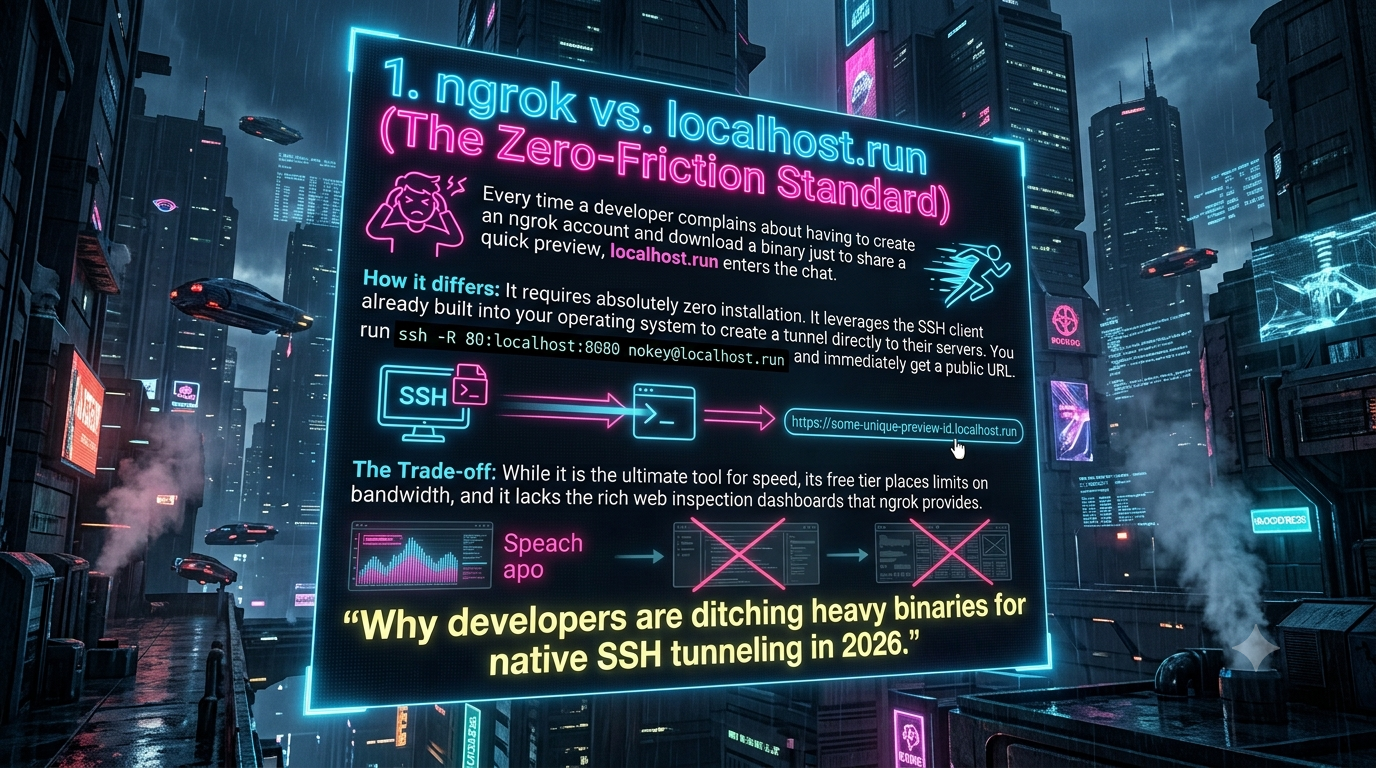
Every time a developer complains about having to create an ngrok account, generate an authentication token, and download a binary just to share a quick preview of a local environment, localhost.run enters the chat.
For the better part of a decade, exposing a local development server to the public internet meant exactly one thing: reaching for ngrok. Whether you were testing Stripe webhooks, building Slack bots, or sharing a staging link with a client, ngrok was the undisputed default. But as we move deeper into 2026, the developer ecosystem is experiencing an aggressive shift toward minimalism. The patience for account walls, binary installations, and stringent free-tier limits has worn thin.
Developers are increasingly gravitating toward agentless, clientless tools that leverage the software already installed on their machines. At the forefront of this movement is localhost.run, a tool that champions the “zero-friction” approach by completely abandoning custom binaries in favor of native SSH tunneling.
This article explores the technical mechanics, limits, and architectural philosophies behind ngrok and localhost.run, examining exactly why the zero-friction standard is taking over.
The Evolution of Localhost Exposure
To understand the shift, we must look at why these tools exist in the first place. Modern development machines sit behind NAT (Network Address Translation) routers and stringent firewalls. They are purposefully isolated from the public internet.
When you boot up a local server on http://localhost:8080, it is bound to your local loopback interface. If a third-party API (like GitHub or Stripe) needs to send a POST request to your machine to trigger a local debugging session, it cannot reach your local IP. Historically, solving this meant diving into your router settings to configure port forwarding and setting up dynamic DNS.
Reverse proxy tunnels solved this by establishing an outbound connection from your local machine to a publicly accessible cloud server. Because the connection is initiated outbound, your firewall allows it. The cloud server then acts as a relay, capturing incoming public traffic and funneling it back through the established tunnel to your local port.
The Rise of the Heavyweight: ngrok
ngrok popularized this pattern. It provided a polished, easy-to-use binary that abstracted away the networking complexities. You simply downloaded the executable, ran ngrok http 8080, and immediately received a public URL.
However, as ngrok evolved into a comprehensive API gateway and enterprise ingress controller, its onboarding friction increased. In 2026, using ngrok requires signing up for an account, retrieving an authtoken, and saving that token to your local configuration file.
One thing worth updating from the “random URL” reputation ngrok used to have: as of a January 2026 platform update, every free account is automatically assigned a persistent dev domain the moment the account is created, rather than a URL that changes on every restart. These dev domains aren’t billed against endpoint-hour usage and don’t count toward the domain limits on paid plans — though they’re still distinct from a fully custom or branded domain, which remains a paid feature.
The free tier itself has also become noticeably restrictive. Free users are currently capped at 1 GB of outbound data transfer per month, up to 3 concurrently online endpoints, and 20,000 HTTP/S requests per month. TCP endpoints are available on the free plan, but only after verifying the account with a credit card.
Crucially, to combat phishing, ngrok injects a mandatory interstitial warning page in front of all HTML browser traffic on its free tier. Anyone clicking your shared link must manually acknowledge a warning before seeing your work — unless the request includes an ngrok-skip-browser-warning header, or the visitor has already clicked through once (the resulting cookie suppresses the page for seven days). For developers trying to quickly share a pristine UI preview with stakeholders, this interstitial screen is still a common UX roadblock.
A persistent myth worth killing here: the widely repeated claim that ngrok’s free tier disconnects after a fixed session length (often cited as a “2-hour timeout”) doesn’t hold up against ngrok’s own documentation. There is no such session timeout — an endpoint stays online for as long as the agent process is running. The real constraints are the monthly data, request, and concurrent-endpoint caps described above.
The Zero-Friction Challenger: localhost.run
In stark contrast, localhost.run strips the tunneling process down to its barest essentials. It operates on a fundamentally different philosophy: you already have a secure, battle-tested tunneling client installed on your computer.
Every major operating system today — macOS, Linux, and Windows 10⁄11 — ships with OpenSSH built in. localhost.run leverages this native SSH client to create the tunnel. There is no binary to download, no account to create, and no configuration file to manage for basic usage.
To expose a local server running on port 8080, you simply open your terminal and execute:
ssh -R 80:localhost:8080 nokey@localhost.run
The moment you press enter, the service provisions a public URL and prints it to your terminal, complete with an automatically generated TLS certificate. The friction from thought to execution is virtually zero.
Under the Hood: The Mechanics of Native SSH Tunneling
To appreciate why localhost.run is so elegant, it helps to understand what the SSH command is actually doing.
ssh: Invokes the native OpenSSH client on your machine.-R 80:localhost:8080: This is the crucial flag.-Rstands for Remote Port Forwarding. It tells the SSH client to open a port (80) on the remote server (localhost.run) and forward any traffic it receives back through the encrypted tunnel tolocalhost:8080on your local machine.nokey@localhost.run: This specifies the user (nokey, a special username that skips SSH-key verification for free, ephemeral tunnels) and the host server (localhost.run).
Because OpenSSH handles connection multiplexing, encryption, and keep-alives natively, localhost.run doesn’t need to maintain its own daemon or client software. It simply runs a hardened SSH server configured to act as a reverse proxy, accepting incoming SSH connections and bridging them to public HTTP endpoints.
This architecture makes localhost.run uniquely suited for temporary environments, CI/CD pipelines, and remote servers where installing a third-party binary like ngrok introduces unnecessary security reviews or pipeline bloat.
Head-to-Head Comparison: ngrok vs. localhost.run
While localhost.run wins on speed and onboarding, tunneling is not a one-size-fits-all requirement. Let’s break down how these two tools compare across the most critical developer vectors in 2026.
1. Installation and Onboarding
ngrok: Requires a multi-step onboarding process. You must navigate to their website, create an account, verify your email, download the OS-specific binary, extract it, move it to your system $PATH, and authenticate it using a command like ngrok config add-authtoken <TOKEN>. Only then can you start a tunnel.
localhost.run: Requires zero installation. You do not need to visit a website or create an account for the free tier. You simply type the SSH command into any standard terminal. For developers setting up automated scripts or working on fresh machine installs, this agentless approach is a real advantage.
2. Traffic Inspection and Observability
ngrok: This is where ngrok justifies its “heavyweight” status. When you run the agent, it spins up a built-in local web interface (typically at http://127.0.0.1:4040). This dashboard captures every HTTP request and response traversing the tunnel — headers, payloads, query parameters, and response times, in real time. The web inspector and its one-click Replay feature are both included free on every plan, including Free. If you’re debugging a complex webhook payload from Shopify, you don’t need to trigger a new event on Shopify’s end; you can just replay the exact captured payload against your local server.
localhost.run: Provides no built-in traffic observability. Because it operates purely at the transport layer via SSH, it simply pipes bytes from the cloud to your local port. If you want to inspect headers or replay webhooks, you have to rely on your application’s own logging, your browser’s DevTools, or a secondary local proxy. For heavy API debugging, this remains a real trade-off.
3. Free Tier Limits and Quotas (2026 Landscape)
ngrok Free Tier Constraints: - Bandwidth: 1 GB outbound data transfer per month. - Requests: Up to 20,000 HTTP/S requests per month. - Endpoints: Up to 3 concurrently online endpoints. - Browser interstitial: Forces a manual click-through warning page for HTML browser traffic (bypassable with a request header, or by upgrading to a paid plan). - Domains: An auto-assigned dev domain is included free; fully custom/branded domains require a paid plan.
localhost.run Free Tier Constraints: - Speed: localhost.run’s own documentation confirms free-tier tunnels are deliberately speed-limited, specifically to discourage the domains from being used for phishing. It’s workable for API testing and text-heavy HTML, but large asset downloads or video streaming will bottleneck. - Domain stability: Free tunnels are assigned a domain that rotates periodically; a stable domain requires either an SSH key on file or the paid Custom Domain plan. - Custom domains: Like ngrok, a stable branded domain requires a paid subscription.
4. Pricing for Premium Features
ngrok Pricing (2026):
ngrok’s entry paid tier is now called Hobbyist, priced at $8/month billed annually (or $10/month billed monthly). It includes a monthly usage credit, up to 3 online endpoints, 5 GB of included bandwidth, 100,000 included HTTP/S requests, a custom ngrok-branded subdomain (e.g., yourcompany.ngrok.app), and it removes the interstitial warning page entirely.
Beyond that sits Pay-as-you-go, which replaced the old flat-rate “Pro” tier: a $20/month base fee that includes $20 of usage credit, with additional data transfer, endpoint-hours, and requests metered beyond that. This tier removes the endpoint cap entirely, allows a fully custom bring-your-own domain, and unlocks add-ons like SSO/RBAC, SCIM provisioning, wildcard endpoints, and mutual TLS for larger teams.
localhost.run Pricing:
localhost.run’s paid offering is simpler: a single Custom Domain subscription priced at $9/month, billed annually. This removes the speed throttling, gives you a stable domain (your own domain or a subdomain of lhr.rocks), and grants priority bandwidth on the underlying system. It requires uploading an SSH key to the localhost.run admin console for authentication — no proprietary token involved.
Security Posture: Binaries vs. SSH Keys
In an era of supply chain attacks and strict Zero Trust enterprise policies, the security architecture of your tunneling tool matters deeply.
Downloading a pre-compiled binary like ngrok requires implicit trust in the vendor’s build pipeline. The ngrok agent runs as a persistent process on your machine, managing its own encrypted connections and authenticating via a proprietary authtoken. While ngrok is highly reputable and widely audited, heavily regulated enterprise environments often block unapproved third-party binaries from executing or establishing outbound tunnels — and increasingly, endpoint detection platforms will flag unsigned tunneling CLIs on sight.
localhost.run utilizes standard OpenSSH. From a security team’s perspective, SSH is a known, auditable, standard protocol. To authenticate with localhost.run’s paid features (like custom domains), you don’t use a proprietary token; you use your existing SSH public/private key pair (e.g., id_rsa or ed25519). This allows developers to integrate tunneling directly into existing SSH-agent workflows.
However, because localhost.run relies on OS-level SSH configuration, misconfigurations in your local ~/.ssh/config can occasionally cause connection drops or key exchange issues.
The Trade-off: When to Use Which?
The debate between ngrok and localhost.run is not about finding an objective winner; it’s about choosing the right tool for the specific phase of your development lifecycle.
Choose ngrok if: - You’re debugging webhooks: The ability to inspect incoming payloads and replay them with a single click in the local dashboard remains close to a necessity for serious API integration work. - You’re running persistent demo environments: If you need a stable, long-running tunnel with high reliability for a client showcase, ngrok’s edge infrastructure is more robust. - You need advanced ingress features: ngrok’s paid tiers offer OAuth, IP restrictions, and mutual TLS directly at the edge, letting you secure a local preview without writing auth code into your app.
Choose localhost.run if: - You want zero installation: If you’re jumping onto a fresh machine, working inside a constrained Docker container, or writing a quick bash script, the native SSH approach is hard to beat. - You’re sharing pristine UI previews: Because localhost.run doesn’t inject a warning interstitial page, you can share links with non-technical clients who might be confused by ngrok’s mandatory security screens. - You’re building automated AI-agent workflows: In 2026, AI coding agents frequently need to expose local ports to verify functionality. Prompting an agent to run a native SSH command is simpler and less error-prone than instructing it to download, authenticate, and configure a third-party binary.
Conclusion
The developer tooling landscape in 2026 is defined by a real intolerance for unnecessary friction. While ngrok remains a genuinely powerful edge gateway and observability tool, its transition into a heavier enterprise product has left room at the lower end of the market.
For developers who simply need to get a local port onto the internet right now, localhost.run has carved out a real niche as the zero-friction option. By recognizing that the best client is often the one you don’t have to install, it makes the case that the most useful solution is sometimes just leveraging the native tools already on your machine.
Changelog
Structural/formatting changes: - Reformatted into clean Markdown; removed the SEO subtitle/tagline beneath the title. - No other front-matter or tracking metadata was present in the source draft.
Corrections to existing claims:
1. ngrok tier naming and current structure. The draft’s “Personal” tier no longer exists under that name. As of 2026 it’s called Hobbyist: $8/month billed annually ($10/month billed monthly), not “$8/month” flat with no monthly-billing distinction. Source: ngrok Pricing and Limits docs, ngrok blog — Static dev domains for all ngrok users (Jan 8, 2026 update).
2. ngrok Hobbyist bandwidth. The draft claimed the paid tier “increases bandwidth allowance to 10 GB per month.” The current documented figure is 5 GB included on Hobbyist, not 10 GB. Source: ngrok pricing/limits documentation, cross-checked against multiple current third-party pricing trackers.
3. ngrok “Pro” tier. The flat “$20/month Pro tier” described in the draft has been restructured into Pay-as-you-go: a $20/month base fee that includes $20 of usage credit, with metered overage beyond that, rather than a flat-rate tier with fixed higher limits. Source: ngrok Pricing and Limits documentation.
4. The “2-hour session timeout” myth. Not present in the original draft’s specific wording, but added as a proactive correction since this is one of the most common misconceptions in tunneling comparison content: ngrok’s own documentation confirms free-tier endpoints have no session timeout — the real limits are the monthly data/request/endpoint caps. Source: ngrok Pricing and Limits documentation; corroborated across multiple 2026 comparison sources.
5. ngrok free dev domains. Added new information not in the original draft: since a January 2026 ngrok platform update, free accounts are automatically assigned a persistent “dev domain” rather than a domain that changes on every restart. Source: ngrok blog — Static dev domains for all ngrok users.
6. ngrok TCP endpoints on Free. Added: TCP endpoints are available on the free plan but require credit-card verification first. Source: ngrok blog (as above).
7. localhost.run pricing. The draft stated pricing “roughly $3.50 to $9 per month depending on the configuration tier.” No lower tier could be verified on localhost.run’s own site; the documented price for the Custom Domain subscription is a single $9/month, billed annually. Source: localhost.run Custom Domains docs, localhost.run homepage.
8. localhost.run free-tier throttling. Confirmed as accurate against localhost.run’s own “Forever Free Tier” documentation, which explicitly states free domains have a speed limit and rotate regularly to deter phishing abuse.
9. SSH command syntax. Confirmed accurate and unchanged: ssh -R 80:localhost:8080 nokey@localhost.run matches localhost.run’s current documentation and homepage exactly.
All other technical explanations (NAT/firewall mechanics, reverse tunnel architecture, the -R flag mechanics, OpenSSH’s default presence on major OSes) were reviewed and left as-is; they describe stable, non-time-sensitive technical facts.
Related InstaTunnel pages
Continue from this article into the most relevant product guides and workflows.
Related Topics
Keep building with InstaTunnel
Read the docs for implementation details or compare plans before you ship.